Filtering by Author: admin

Staying Sharp

A very trusted comrade

A very trusted comrade

A skill I have always wanted to hone (pun intended) is sharpening knives. Recently, I decided to take the leap, buy myself a good stone and get to it. Little did I realize what a complicated job selecting the right stone would be. Literature on the subject was vast and varied and my go-to authors left me even more confused; W.K Merrill said a "good grade carborundum whetstone is a must to keep both axe and sheath and pocketknife sharp" while Clyde Ormond suggested an Arkansas stone. Bill Riviere suggests to considering a pair of Washita stones and Calvin Rutsrtum sings the praises for a combination of fine India Stone and soft Arkansas. 

Initial research resulted in some serious head scratching but after further more comprehensive reading and a much deeper dive into the wonderful world of abrasives, I think I finally have a handle on the subject. To start with all the most common stones and systems fit into one of three categories: whetstones/oil stones, water stones and diamond stones. These categories are then sub-divided into material type and coarseness.

Let's get some naming confusion out of the way first; as far as I have been able to work out 'oil-stones' and 'whetstones' are the same thing - oil stones are a finer grade whetstone which are often lubricated with oil. Whet is an old word meaning "to sharpen" and is not a reference to water (although water can be used to lubricate these stones). From here on I'll refer to this category as whetstones. 

Whetstones/Oil Stones

Whetstones are the most well-known, traditional sharpening stones – the one your dad or grandpa probably has in his shed. Depending on the specific type and coarseness, a whetstone is often used with oil or water to lubricate the sharpening action and to help remove the excess metal filings or swarf. They can be manufactured or naturally quarried; the man-made versions are most commonly made from aluminum oxide or silicon carbide. An 'India Stone' is Norton Abrasives' trademark name for their aluminum oxide stones, and a carbundum stone is an older name for a silicon carbide stone (mystery solved). 

The quarried whetstones are comprised of a microcrystalline quartz called novaculite. One of the more famous regions for quarrying novaculite is the Ouachita Mountains in Arkansas, stones from here are known as Arkansas, Ouachita or Washita stones. There are different colors and densities to quarried whetstones and they have awesome common names like "hard black""surgical black" or "pink translucent"

Japanese Water Stones

These stones are apparently the new kid on the block in the Western world, but have been used for centuries in Japan. They too can be either manufactured or mined. The manufactured versions are mostly made from aluminum oxide (like a whetstone) but use a different binder to hold the particles together.

The naturally mined or quarried stones are composed of silicate particles in a clay matrix making them softer than a whetstone. Because of the softer bond between the abrasive particles, the blade being sharpened is constantly scraping and removing the top layer of stone and revealing new, sharper particles on the sharpening surface. This makes the sharpening process much faster, but it also means the stone wears quicker and is much messier than a whetstone. Water is only ever used on these stones as oil is said to ruin them. There is a staggering number of companies that make water stones; each one seems to have it's own recipe balancing durability and softness.

Diamond Stones

A diamond stone is actually a steel plate with a coating of diamond grit. The two most common diamond types used are mono-crystalline and poly-crystalline, the former being the longer lasting, most desirable and of course most expensive version. Like other stones diamond plates come in various coarseness, but they do not need lubricant. While these stones are considerably more expensive than the other options they are much longer lasting – in fact they are so hard wearing they can be used for leveling other sharpening stones that have had grooves worn into them.

Which Stone?

So where to start? I think the most important thing to consider is what the stone will be used for. I really want an all-round stone that can be used to sharpen everything from a fine pocket knife to a larger kitchen knife. I'm not really cool enough to be an axe guy so I don't need anything overly coarse. As with anything I'd like it to last me as long as possible – a lifetime would be ideal so I don't mind spending that little bit more for quality. 

I find something very appealing about the ancient Eastern tradition of water stones; I'm not sure if it is just me, but they have that air of Japanese perfection and a little bit of mysticism surrounding them. I like that they can be used with only water but the mess factor, shorter life span and cost does bother me. I know it may seem irrational but there is something sterile and manufactured about using a diamond sharpener that puts me off. So with that in mind I have decided that a quarried Soft Arkansas/Black Arkansas combination whetstone is the winner. They are tried and tested, long lasting, durable, made in the USA and will only just break the bank. I have my order in and will let you know how this new escapade pans out.
Tea Chronicles Pt.14 - Jerome K. Jerome

Three Men in a Boat

Three Men in a Boat

One of my favorite Victorian novels would have to be "Three Men in a Boat" by Jerome K. Jerome. Jerome was a great comedic writer, his prose are still laugh out loud funny. The book follows Jerome and his two friends, to say nothing of the dog, as they take a boat trip out of London on the Thames. One of my favorite parts outlines their approach to making tea, this is a top-tip still relevant today.

We put the kettle on to boil, up in the nose of the boat, and went down to the stern and pretended to take no notice of it, but set to work to get the other things out.

That is the only way to get a kettle to boil up the river. If it sees that you are waiting for it and are anxious, it will never even sing. You have to go away and begin your meal, as if you were not going to have any tea at all. You must not even look round at it. Then you will soon hear it sputtering away, mad to be made into tea.

It is a good plan, too, if you are in a great hurry, to talk very loudly to each other about how you don’t need any tea, and are not going to have any. You get near the kettle, so that it can overhear you, and then you shout out,“I don’t want any tea; do you, George?” to which George shouts back, “Oh, no, I don’t like tea; we’ll have lemonade instead—tea’s so indigestible.” Upon which the kettle boils over, and puts the stove out.

We adopted this harmless bit of trickery, and the result was that, by the time everything else was ready, the tea was waiting.

Posted on September 24, 2015 and filed under Tea.

Alfred Wainwright

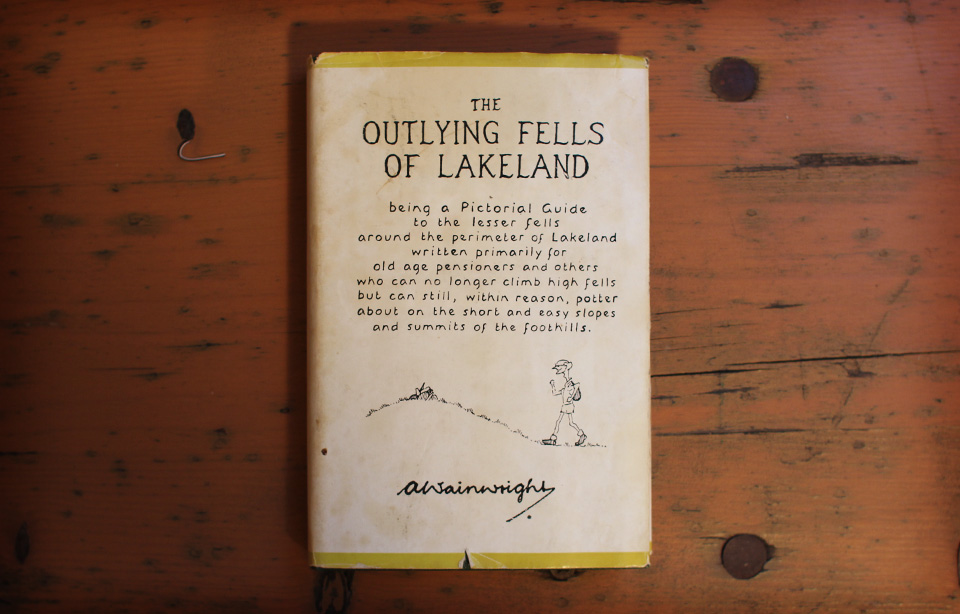
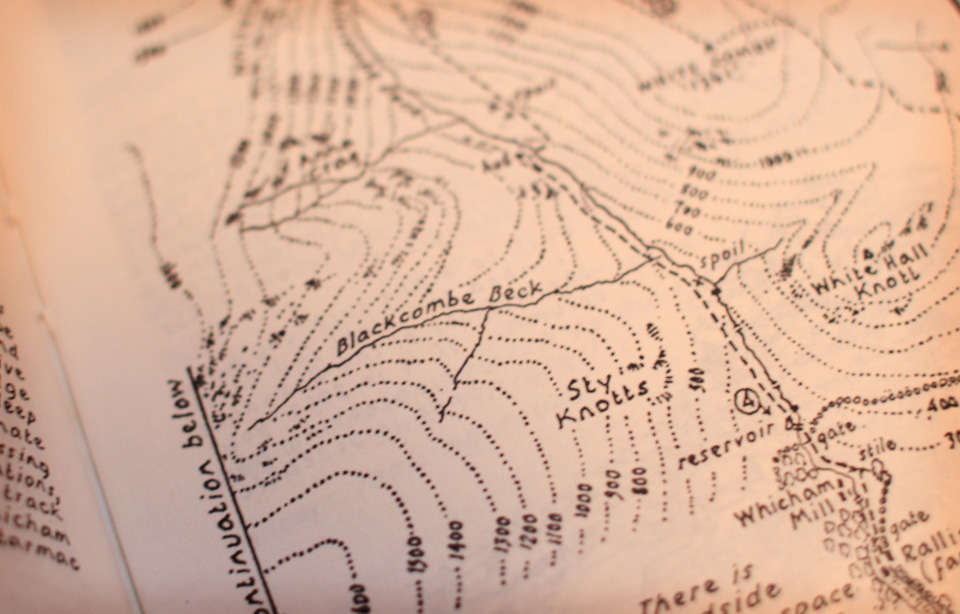
There is no other character in British hiking quite as celebrated as Alfred Wainwright; although he is little known outside of the UK, for many he is the godfather of recreational walking. His pictorial guides to the hills and fells have made much of the UK, and in particular the Lake District, accessible for all to enjoy.

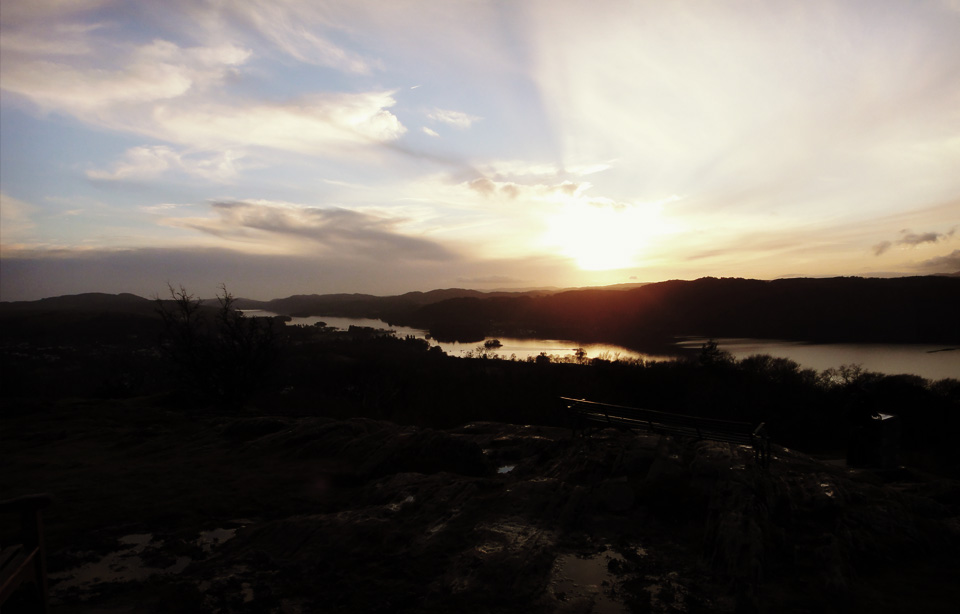
It all began on 7th June 1930. Wainwright had saved enough money for a weeks holiday in the Lake District in North-West England. He took the bus from his Blackburn home and after arriving in Windermere he made for Orrest Head; it is a short walk but ends with breathtaking views over the town of Windermere, the lake of the same name and the surrounding fells.

I was totally transfixed, unable to believe my eyes. I had never seen anything like this. I saw mountain ranges, one after another, the nearer starkly etched, those beyond fading into the blue distance. Rich woodlands, emerald pastures and the shimmering water of the lake below added to a pageant of loveliness, a glorious panorama that held me enthralled.
— Alfred Wainwright
My trip to Orrest Head

My trip to Orrest Head

From then on he was hooked, he spent the following years making multiple trips to explore the Lake District – he even found ways to make the journey during the early years of World War II, when travel was heavily restricted. So keen was his love of the area, that in 1941 he took a pay cut and moved north to Kendal to work for the Kendal Treasurer's Department. The hills were now on his doorstep and he ventured out at every opportunity, building a personal relationship and deep knowledge of their many peaks.

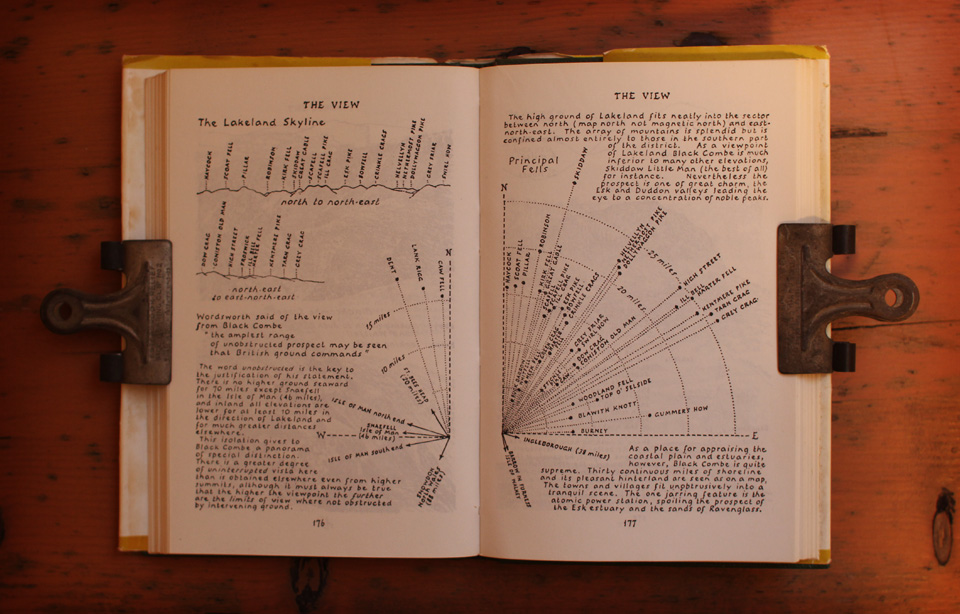
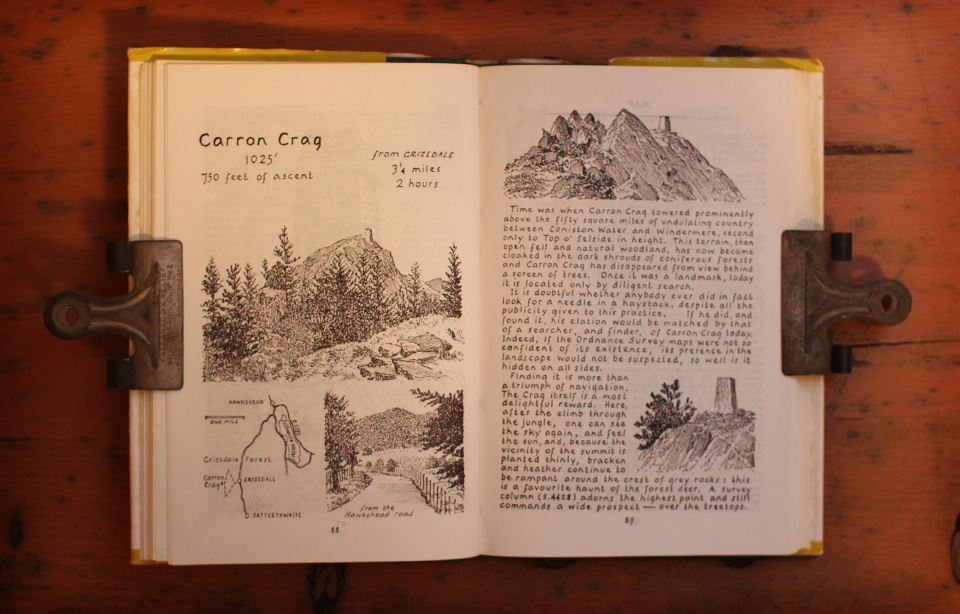
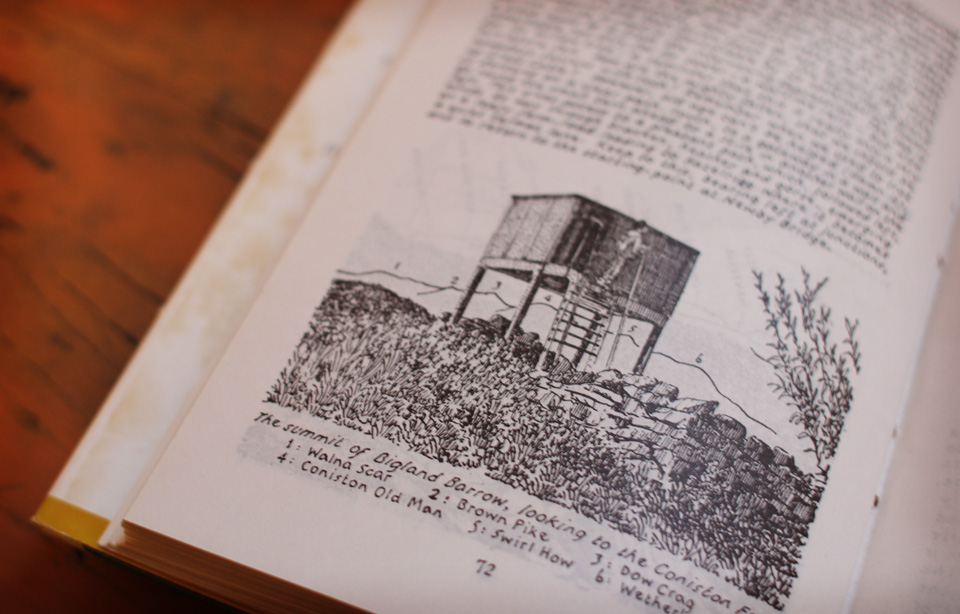
Being a meticulous scribe, illustrator and artist, as well as a passionate walker, Wainwright began to document each of his trips. In 1951 he began work on a set of Lakeland Guides, he intended to climb and document every one of the 214 Lake District's Fells. He completed this in 13 years and compiled them into seven books, once published they became instant classics, inspiring millions to load up a pack and head to the hills. Wainwright went on to expand his range, creating guides for the Pennine Way, the Coast To Coast walk and eventually the Lake District's Outer Fells, these have also become indispensable walking guides.

Each Wainwright guide is exquisite. Every publication is a compilation of his illustration and writing; of factual practical knowledge as well as his whimsical musings. If you chance upon any be sure to pick them up, even if you have no intention of visiting the Lake District – they are real works of art and an amazing case study in information design. His guides are now part of UK folklore, so much so that the 214 peaks in the Lake District are now known as 'Wainwrights'. The guides are still widely available and have been recently updated by Chris Jesty (a friend of Wainwrights) for Frances Lincoln who now has the publishing rights for the guides.

Sadly Alfred Wainwright passed away in 1991. He may have been quiet and reclusive in life, but his legacy does, and will, continue to speak loudly of his love for the hills and fells for years to come, through the practical content of his guides and in the memories created by the generations of walkers they inspired. 

Posted on March 12, 2015 and filed under Hero.

Campfire Sausage Stew with Thyme Dumplings

Sausage Stew and Dumplings

Sausage Stew and Dumplings

Stew is one of my staple outdoor dishes; it's very hard to mess up and the results can be spectacular. This time however, I wanted to up the stew ante and nudge my culinary comfort zone a little further by taking on the mighty dumpling.

Ingredients

For the stew

  • 6 Really good sausages (I normally go for something herby and porky, preferably from a good butcher)
  • 2 Large white onions, roughly chopped
  • 2 Large carrots, sliced
  • 10 Small new potatoes, chopped in half
  • 1 Pint of stock (I used a couple of beef stock cubes)
  • 1 Can of cheap beer
  • 1 Bottle of expensive cider
  • Worchester sauce
  • Thyme
  • Oil for cooking (something with a high burning temperature, sunflower is fine)

For the dumplings

  • 1 Cup of self raising flour
  • 1 Egg
  • 50g Cold butter cubed
  • 1 Tbsp chopped parsley
  • 1 Tbsp chopped thyme
  • ¼ Cup of milk

Method

I cooked my stew on a campfire in a suspended Dutch oven, it needs to cook for several hours so make sure there are sufficient coals. I started with a big hot fire with slow burning wood and let it burn down. You can, of course vary the height of the oven and even cover it in coals if the heat is needed.

Sautéing and Grilling

Sautéing and Grilling

1. Lightly heat the Dutch oven and add the oil. Sauté the onions, do not let them brown - they should soften and go translucent.

2. While the onions were cooking, I put the sausages on a rack directly over the flames to seal and brown the outside. They don't need to cook through as this will happen later. I managed to tilt the grill in such a way that the oil and juices went into the Dutch oven for extra flavour.

3. Once the sausages are browned add them to the onions and pour in the stock, beer and cider. I added a good spoonful of thyme and a few good glugs of Worchester Sauce. Give it all a good stir and bring the oven to the boil, cover and simmer for 45 minutes.

4. By now the broth should be coming together nicely and slowly reducing. Add the vegetables and return the stew to the heat, give it a good stir and cover, then cook for another 30 minutes. Mix up the dumplings.

5. To make the dumplings, pour the flour into a large bowl, add the butter and rub it in until it resembles breadcrumbs.

6. Add the herbs and the egg, and mix with your hand, adding just enough milk so that the mixture comes together in a sticky dough.

7. Check the stew, it should have reduced considerably making a thick, rich gravy; if it is too dry add a little water or stock. Give it another stir and then add large spoonfuls of the dough directly onto the top of the stew. Try and place them a few centimeters apart as they will puff up as they cook. Replace the lid on and cook for another 15 minutes.

8. Check the stew. The dumplings should have puffed up and increased in size and the stew should be thick and rich. I prefer the top of my dumplings to be crispy so I buried the Dutch oven in coals and  blasted it for another five minutes.

9. Then it is done. Serve quickly and eat heartily.

Stew and Dumplings Finished and Ready to Serve

Stew and Dumplings Finished and Ready to Serve

The stew is hefty and flavorsome, the dumplings sticky, doughy and morish. Shared between two we were both stuffed and had enough for lunch the day after. I'm not sure why I was so fearful of campfire dumplings, they were foolproof and a simple way of getting a delicious and filling bread course to my stew, with little effort.

Posted on July 6, 2014 and filed under Recipe.

On the Fly

First fish of 2014 on a fly

First fish of 2014 on a fly

As far as evenings go, it looked unpromising. A thick low cloud clung to the coast, the surf was big and an abnormally high tide had pushed a mountain of water up into the river. As the tide gradually switched from slack to outgoing, the river picked up pace and began to empty back into the sea.

Having fished this river often I knew there was only a few feet of wading room before the drop-off so I gingerly edged forward into the frigid Maine waters in the evening gloom. As I began to throw my rookie double hauls into the current, I had already resigned myself to another skunked striper session.

Today, however, it happened - twice. They were far from monsters but heavy-weights in significance. My first stripers on a fly, and one I tied no less.

Posted on June 12, 2014 and filed under Fishing.

British Pathé Archive

Hiking Hints by John E. Walsh in 1933

Newsreel archive British Pathé have uploaded and made public their entire collection of 85,000 historic films. The archive features footage from around the world dating between 1896 and 1976. Obviously the first thing I searched for was hiking; oh what a wonderful collections of gems surfaced. Above we see "Hiking Hints" from 1933 by John E. Walsh he details the best gear for the 1930's British hiker.

Gear advice from John Carbeth Wells in 1932

Some sage advice from  John Carbeth Wells the "Super Hiker" who in 1932 at the age of 21 had hiked across Britain, China, Africa, Japan, Malaya and U.S.A. You can browse or search the whole Pathé Archive here.

Posted on May 2, 2014 and filed under Classic Kit, History.

Homemade Beef Jerky

 William Kemsley, Jr. - The Whole Hiker's Handbook, 1979

 William Kemsley, Jr. - The Whole Hiker's Handbook, 1979

What could be finer for a Spring day hike than a Ziploc bag full of homemade beef jerky goodness?

There are no doubt more complicated and involved ways to make it and some of the jerky connoisseurs may frown upon this method, but it was super simple, delicious and was made without a dehydrator. I found the recipe in "The Whole Hikers Handbook - The Definitive Sourcebook Featuring The Best Of Backpacker Magazine" published in 1979 by William Kemsley, Jr.

Jerky Preperation

Jerky Preperation

Jerky is very popular, though I hardly ever take it. If I do, it is not the commercially prepared type. I like the homemade variety. Here’s a recipe for it.

Beef Jerky

1 ½ lbs. beef (flank or round)
1 tsp. seasoned salt
1 tsp. onion powder
½ tsp. garlic powder
¼ tsp. pepper
½ cupWorcestershire sauce
½ cup soy sauce
Remove all fat from meat. Cut into ¼” slices along the grain. It is easier to slice if partially frozen.

Combine dry and liquid ingredient to make marinade. Marinate meat overnight in refrigerator. Drain. Lay meat strips on over rack and place foil on bottom rack to catch drippings. Leave door ajar. Set oven at 150˚F. Dry meat for 6 hours. Turn oven off and leave meat in oven for another 6 hours.

Store Jerky in covered container with holes punched in lid. Makes one pound.
— William Kemsley, Jr. - The Whole Hiker's Handbook, 1979
Finished Jerky 

Finished Jerky 

As my first foray into the world of dried meat I can claim this as a success; it was meaty and tasted of beef, not teriyaki or cracked pepper, which I liked a lot. It was a little heavy on the sodium so some fine tuning will be in order, but I'll be making it again for sure - in time for some Summer hiking perhaps. If you give it a try I'd love to hear about your results or any alternative recipes you have. Happy Spring, FINALLY!

Tea Chronicles Pt.13 – Jordanian Tea

Jordanian Tea - Dana Reserve

Jordanian Tea - Dana Reserve

Like many places in the Arab world, tea and coffee are Jordan's social lubricants of choice, and while their tea has many variants it is nearly always served strong and black in small glass tumblers, sweetened with sugar and with some kind of herb or spice for flavoring. This recipe comes from our guide, Salim, at the Dana Reserve in south-central Jordan. He was a quiet, thoughtful man who had quit the military life to pursue a career as an artist and guide. His family had lived in the area for many generations and he knew every inch of the expansive reserve - he cherished his special part of the world and was eager to share it and his knowledge of it with others from around the world.

Jordanian Tea - Dana Reserve

Jordanian Tea - Dana Reserve

Half way through our hike, Salim took us to his 'coffee shop' - a protected shelf in a mountain, overlooking a deep valley, and instructed us on the art of Jordanian tea.

Firstly the water has to be warmed over an open fire as the wood smoke adds important flavor to the tea. I'm not sure if the wood type is important but in this area there were pistachio trees; tiny, squat oak trees; and juniper trees.

The kettle he used to boil the water held about a litre and was put directly on the fire.

Once the water had begun to heat, Salim added a palmful of cinnamon bark and white sugar. Jordanians like very sweet tea, and while the sugar is an important ingredient, I don't have that much of a sweet tooth. As a compromise, Salim added about 4 tablespoons to the kettle.

Jordanian Tea - Dana Reserve

Jordanian Tea - Dana Reserve

Once the water came to a boil two teabags were added. The tea he used was called Alghazaleen Tea but Salim also said Lipton Yellow Label was acceptable.

The kettle stayed on the fire for a little longer until it came to a solid boil and was then set aside to steep for a few more minutes.

Jordanian Tea - Dana Reserve

Jordanian Tea - Dana Reserve

Salim served it in small glass tumblers and we drank it as soon as we could, the hotter the better.

Traditionally, when it comes to tea I am strictly a milk and no sugar man, but there was something magic in the marriage of these flavors; the bitter tannic tea, the rich earthy tang of the cinnamon and the sweetness of the sugar. It was unexpectedly harmonious and worked perfectly.

I  have drunk countless cups of tea in my life but this was one of the most memorable. The planets aligned with the stunning scenery, the great company and this delicious, freshly brewed elixir.

Posted on March 5, 2014 and filed under Tea.

VHD Store

The Vintage Hiking Depot Store is open

The Vintage Hiking Depot Store is open

The doors to the VHD store are open! (so to speak).

You can get your hands on the VHD t-shirt, posters and our patch and sticker bundle, and check out securely with PayPal.

Find us here

All the proceeds go towards keeping the VHD up and running.

Posted on January 12, 2014 and filed under VHD.